
Get Your Gmail Inbox Under Control Using Multiple Inboxes and Stars
Learn how to use built-in Gmail features like multiple inboxes and stars to triage your emails and get your inbox under control.
the This blog was originally published on August 21, 2018, but has been revised with new content and new instructions to match changes in the Gmail settings and interface.
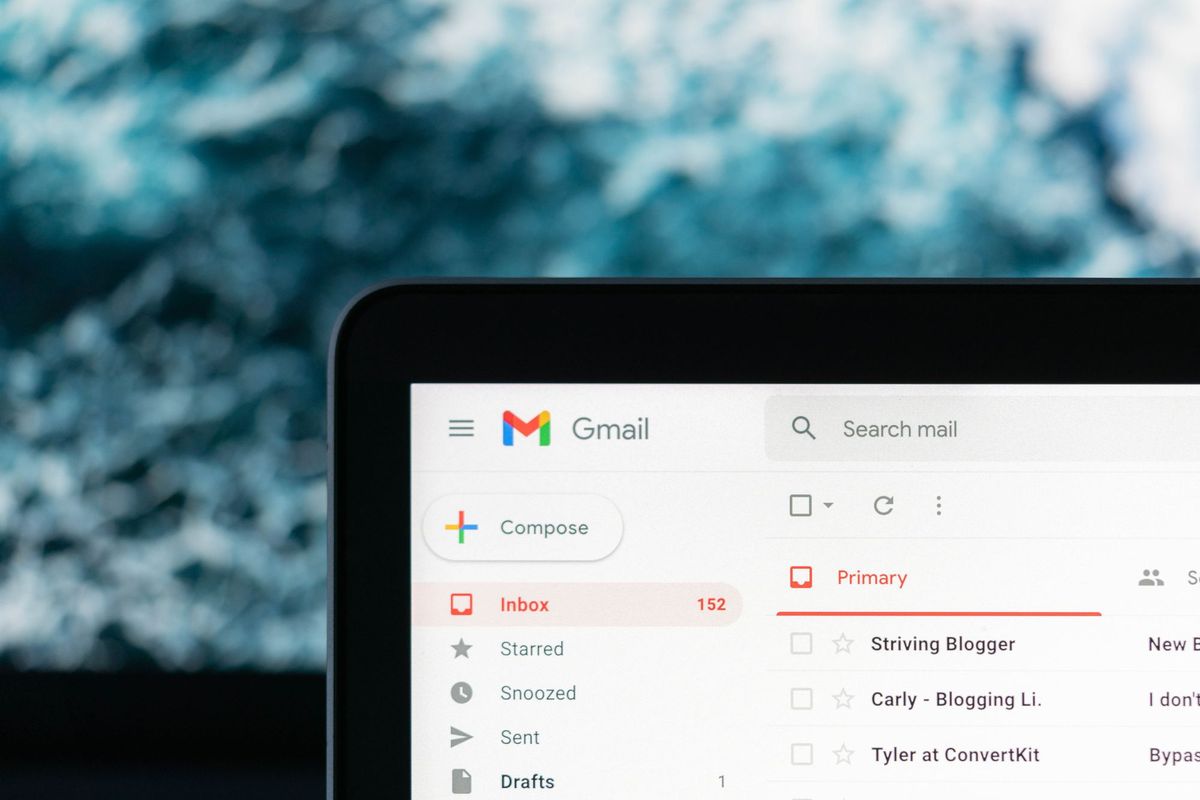
Email is the primary way that most businesses communicate. With the volume of emails that many of us receive, it can be a challenge to stay on top of everything.
It often feels overwhelming and out of control. It's no wonder emails get forgotten or lost as they are pushed further and further down into the abyss of your inbox.
Lucky for you, I have a process that will help you get your inbox organized and help you stay on top of it so you never miss an email or forget to follow up!
Triage Your Gmail Inbox
I came across this process by Andreas Klinger (which is now outdated) several years ago and it made a huge difference for my inbox management.
It's a way to use existing Gmail features (multiple inboxes and stars) to triage your emails as they come in.
The gist is that instead of a wall of thousands of emails, you only have a handful in your inbox at any one time. Everything else is archived. NOT DELETED, ARCHIVED. You can still find it, it's still there, you just don’t have every email you have ever gotten in one gigantic list.
What is the process when an email comes in?
- An email arrives in your ‘main’ inbox. This is the top of your inbox where everything is unsorted.
- You triage it by asking: Is this something that needs my attention immediately, or can it wait until later?
- For emails you have triaged to be responded to later, select a star that corresponds to a section label (more on this below).
- Click on the star multiple times until the correct star is visible.
- Archive the emails. They will automatically appear in the starred section you selected.
Note: This only works on desktop. On mobile, you only have one star option (the yellow one) and there is no way to configure multiple inboxes.
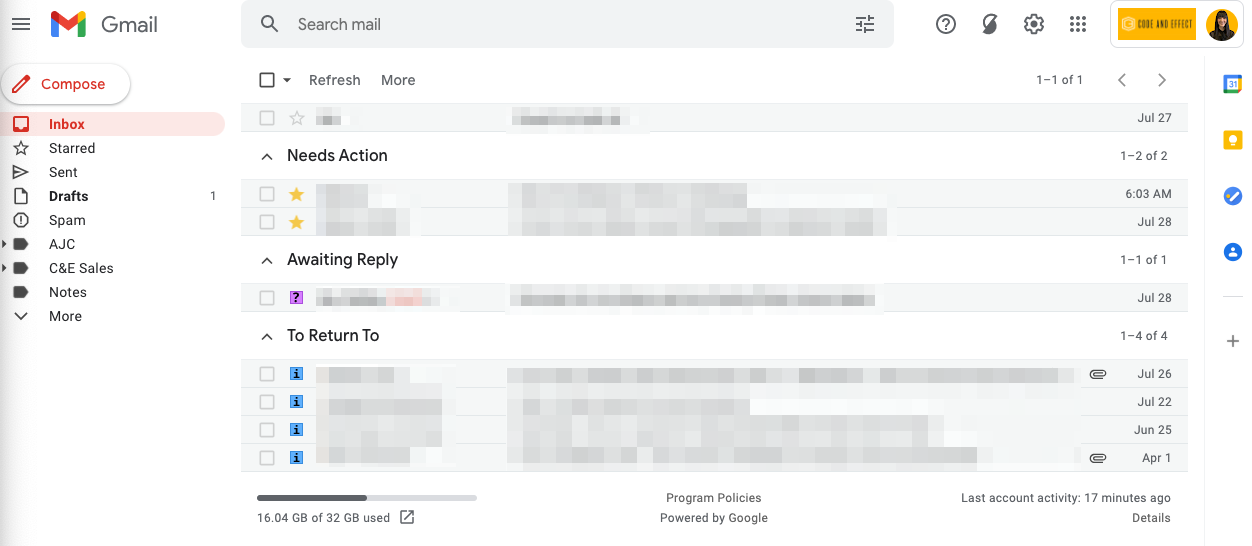
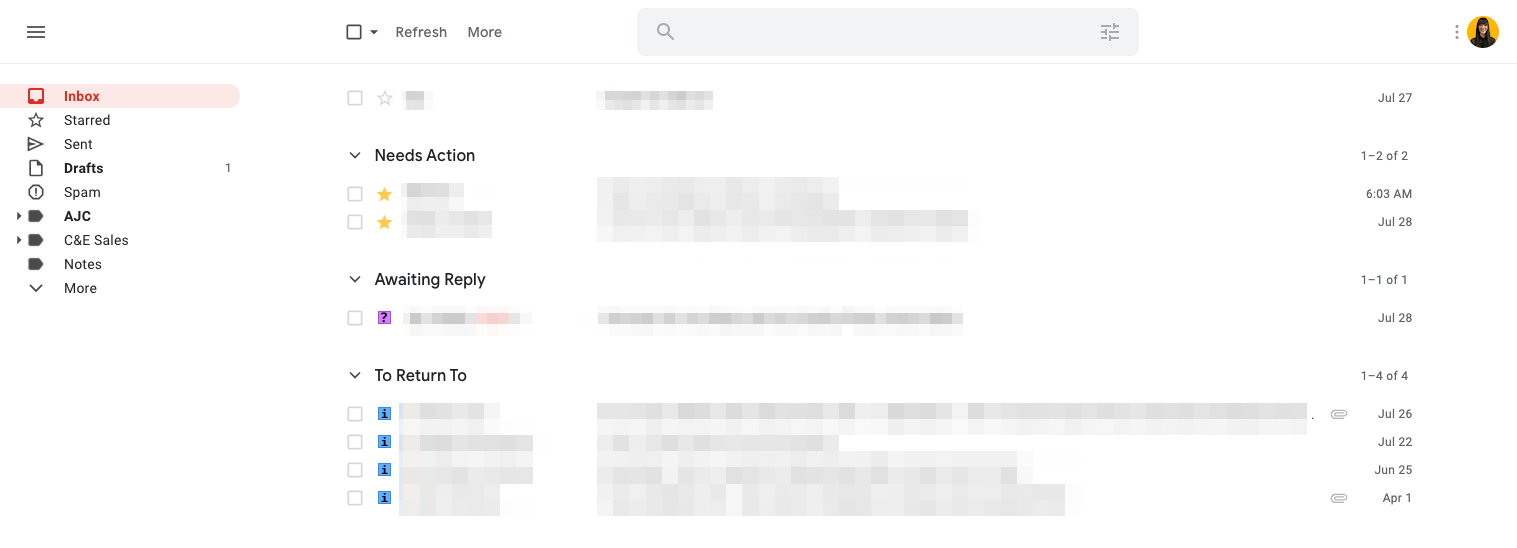
What you get will look something like this:

Choose your section labels
You will notice in the example above that I have three labels for the different sections of my inbox:
- Needs Action - Yellow star: Emails that are at the top of my radar. These require me to take action to complete.
- Awaiting Reply - Purple question mark: Emails that I am expecting a reply on and want to keep visible in case I need to follow up.
- To Return To - Blue bang: Emails that I am interested in looking at but are not an immediate priority. These are often articles, newsletters or ideas.
You can have as many sections as you want, with as many labels as you want. That said, I don’t recommend having more than 4 or 5 inbox sections because then it starts getting cluttered again.
Other labels you might consider might be:
- Delegated: Could be emails with tasks you have delegated to someone else but want to keep an eye on.
- Events/Tickets: Could be emails that have details about an upcoming event or meeting, or tickets to an event or conference.
- Blocked: Could be emails related to a project or task that you are blocked on and waiting on some kind of resolution.
The labels you choose don’t matter, they just have to make sense to you. Think of the types of emails you get each day and ask yourself:
If you were to group your emails into categories, what would they be?
Decide on the sections you want to break your inbox into, and let’s get it configured!
How to Configure Multiple Inboxes and Stars in Gmail
This should only take you 15 minutes and I promise it's worth it!
The instructions in the original post are out of date, so here is an update to match the current Gmail settings and configuration.
Add multiple inboxes
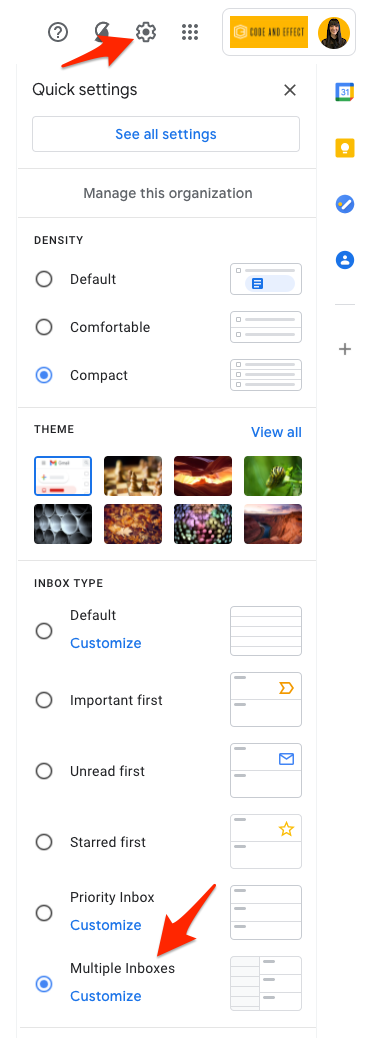
- Go to Settings (you will find it under the cog icon on the top right)
- You will see a Quick Settings menu.
- Under Inbox Type, select Multiple Inboxes and then click Customize
- Choose your Multiple Inbox Position (I use Below the Inbox but this is a matter of preference).
You will come back to this page but first…
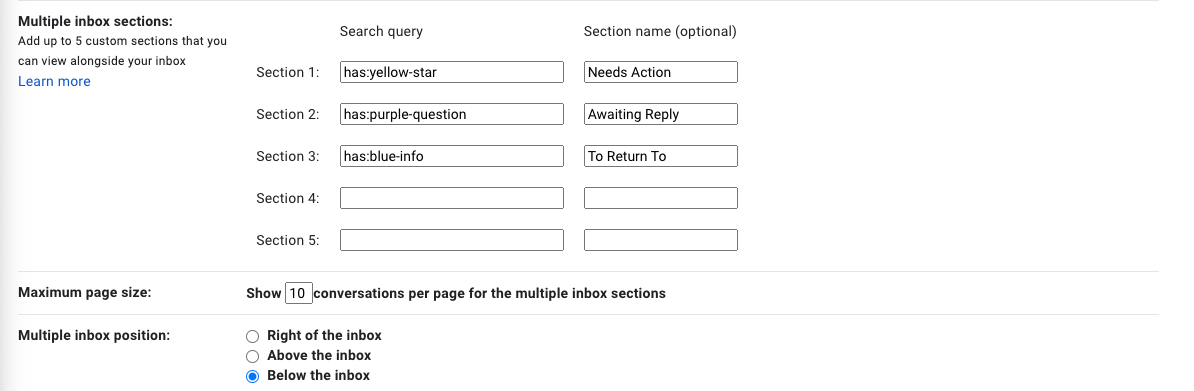
Choose your stars/symbols
- Go to Settings > General and scroll down to Stars
- Add the stars you want to use to correspond to your section headings. Which stars you use doesn’t matter. Choose ones that make sense to you for the type of email categories you decided on.

Filter your inboxes to match the stars
- Go to Settings > Inbox
- Add the filter rules and labels you want for your sections
Here is the list of all the names of the stars:
has:yellow-star
has:red-star
has:orange-star
has:green-star
has:blue-star
has:purple-star
has:red-bang
has:yellow-bang
has:orange-guillemet
has:green-check
has:blue-info
has:purple-question
Everything else on this page should look like this:
3. Save changes and the page should automatically refresh
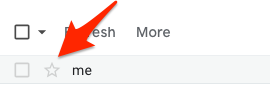
4. Start starring your emails by clicking on the star icon to the left of the email senders name. Click it multiple times to scroll through the various star options you chose
Not working?
- You might not have selected any stars yet or
- If the new multiple inbox layout doesn’t appear in your inbox after you finished the guide, Go to Settings > Inbox > Inbox Type and briefly switch to Default
- Make sure you don’t have any tabs enabled
- Save changes and then select Inbox Type > Multiple Inboxes again, and Save Changes
If you run into a problem or can’t get this to work, shoot me an email and I will help you out.
What to do with your wall of 10,000 emails
This seems like a great idea until you look at your inbox and suddenly feel too overwhelmed to deal with it. Don’t despair, it’s actually pretty easy.
These are the steps you can do to get that wall of email sorted out the first time (slightly varied from the ones Andreas shared):
- Decide how far you want to go back in your email. This will vary depending on the volume of emails you get. It may be a few pages, as Andreas recommends, or you may want to do it by date and go back a few weeks.
- Go through each of the emails and star them based on the labels you have created. This might be a bit tedious but shouldn’t take too long.
- After you think you have gone back far enough to capture items that need to be noted in your immediate inbox, it's time to clear everything out.
- Click select all (the checkbox on the top left).
- Confirm that you really mean all 9,882 emails (or whatever).
- Click on archive (NOT delete)
Your inbox will suddenly have only the emails in your 'main inbox' and the ones you starred.
Don’t worry, all of the archived emails are still accessible through search or your folders.
Huzzah! Congratulations, you have just gotten your Gmail inbox under control. :)
How to keep your Gmail Inbox Under Control
Once you have everything set up you need to be diligent about using the stars and archiving emails that no longer require your attention so that you don't end up with another wall of a thousand emails.
Think about a routine or process that might work for you so that you can keep your inbox under control. Ask yourself questions like:
- How quickly do I ACTUALLY need to respond to my emails?
- How often do I ACTUALLY need to check my email each day?
- Does my inbox need to be open all day?
- What times of the day are best for my mental energy for deep work versus easy work? (Email is usually easy work)
Your responses to these will vary depending on your role, but for most of you, you do not need to check your email nearly as often as you do, or respond as quickly as you do!
This is the process that I use:
- I triage my emails first thing each morning for 15 minutes.
- Anything that can be responded to quickly or is urgent is responded to immediately.
- Anything that requires more time/effort to respond but doesn't require an immediate response is starred as Needs Action.
- The ones I replied to and want to keep an eye on are starred as Awaiting Reply.
- Emails that are informational/educational/don’t require action but I want to return to, I mark them as To Return To.
- Everything is archived out of my main inbox and organized by their respective star/symbol.
- If appropriate, each email is also labelled into appropriate folders for later reference.
- I schedule half an hour to an hour after lunch or between afternoon meetings for the emails I have marked as Needs Action that need more time/effort.
- I triage once more at the end of the day for 15 minutes.
I follow this process because:
- In my role, while my emails are important, the vast majority of them do not require an immediate response.
- I don't work out of my inbox because it is a constant interruption/distraction.
- Mornings are my best concentration/deep-focus time and shouldn't be wasted on email if I can avoid it.
- Afternoons are better for email because they are my worst concentration/deep-focus time and good for easy work.
For more email boundary-setting strategies check out 7 Ways to Set Email Boundaries and Lift the Curse of Immediacy.
Reminder: this is a desktop-focused method of organization and not as useful for people who primarily access their email on their phones. You can use the yellow star in the mobile Gmail app to mark ‘Needs Action’ but none of the other stars/symbols.
Simplify your Gmail interface
Another way I clean up the clutter of my email inbox is by using a Chrome extension called Simplify. It is a browser extension you can find in the Chrome Webstore that cleans up the Gmail interface.
You go from this:
To this:
It's just so much nicer to look at!
Whew! I know that was a lot but I promise you that it makes your email so much nicer to manage.
If you decide to give this a try, let me know what you think in the comments on the blog or email me!
I am happy to give you a hand to get your Gmail Inbox under control or to help you figure out a more efficient email routine.
Share
Ashley Janssen

Productivity consultant, writer, speaker, serial entrepreneur, chaos calmer, introvert, cat-lady. Lover of books, fitness, old fashioned’s, basketball, and video games.
Follow me on
Twitter
or
LinkedIn.
Hire me for
1 on 1 productivity consulting
or
speaking.
Related articles

Why Are You Productive For "Only" 5-6 Hours Each Day?
4 Tactics To Help You Check Your Email Less Often
Comments ()